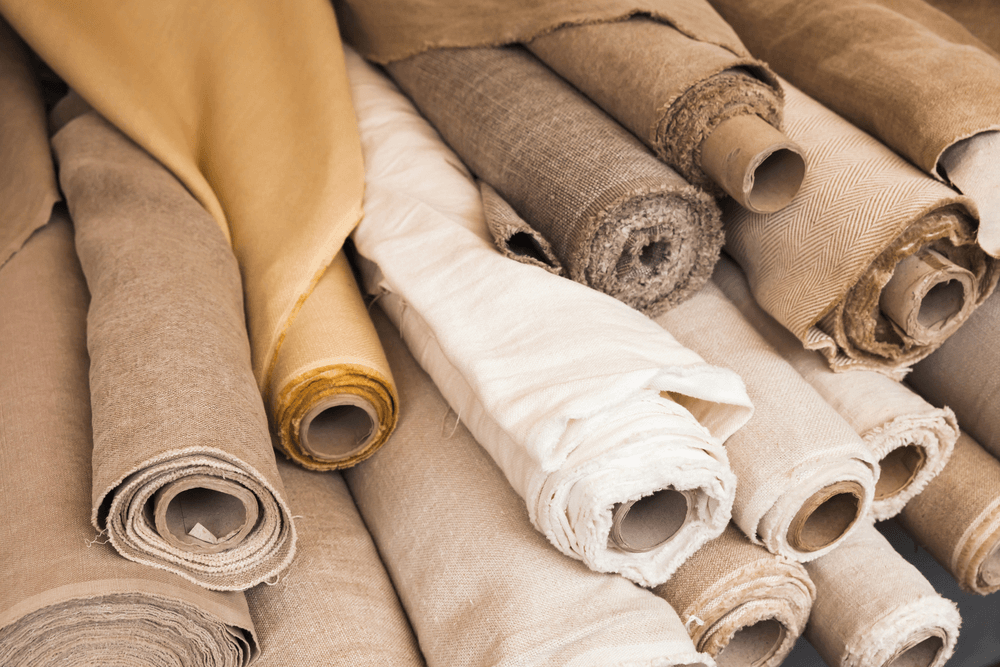
Linen, a popular fabric made from flax fibers, is known for its durability, and eco-friendliness. However, one of its drawbacks is its tendency to wrinkle easily.
In this article, we will guide you through the process of ironing linen, sharing tips to help you achieve perfectly pressed fabrics every time. So, let’s get started!
What is Linen?
Linen is a natural fabric made from the fibers of the flax plant. The material is known for its excellent moisture-wicking properties, making it a popular choice for clothing, bedding, and home textile.
It is also highly durable and gets softer with each wash, making it a favorite among eco-conscious consumers. However, linen is also famous for wrinkling, it’s essential to the correct ironing techniques.
How to Iron Linen?
Ironing linen can be challenging, as it requires both experience and the right technique to achieve a smooth, wrinkle-free appearance. We’ll provide you with a step-by-step guide below to help you handle this situation:
Step 1: Lay out the linen
Spread your linen item out on the ironing board, ensuring you find the place as flat and wrinkle-free as possible. If you’re ironing a garment, pay attention to starting with the most challenging parts, such as collars, cuffs, and pleats.
It’s helpful to smooth out the fabric with your hands before ironing to minimize any existing creases. Additionally, for larger linen items like tablecloths, it’s a good idea to iron sections at a time, adjusting and repositioning the fabric as needed to ensure an even, wrinkle-free finish.
Step 2: Dampen the fabric
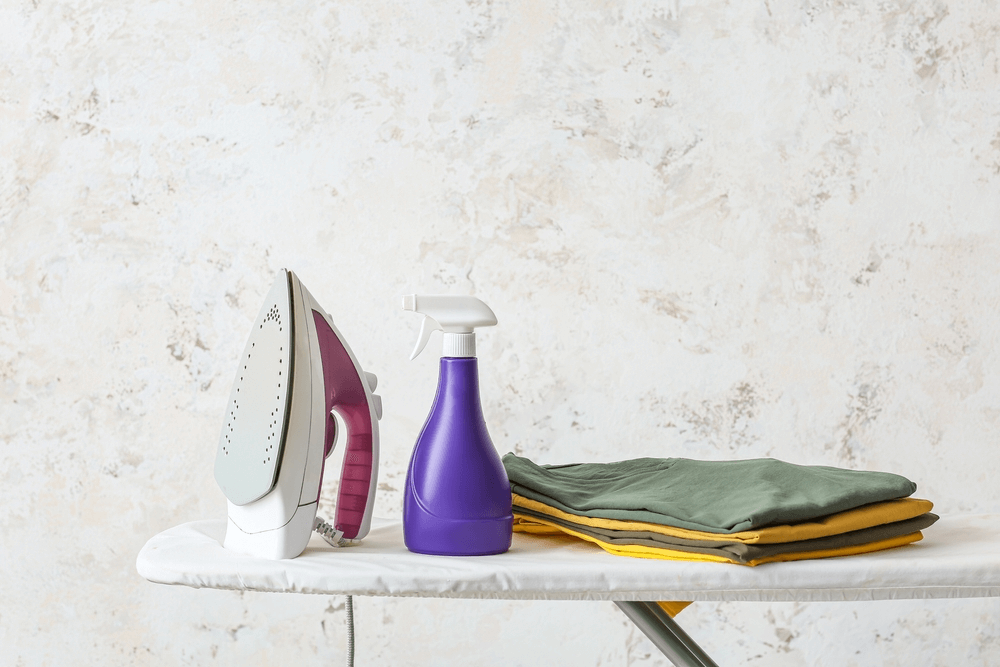
Giving the linen a light spritz with your water-filled spray bottle or using a damp cloth to lightly moisten it helps create the perfect environment for ironing.
The moisture not only helps the heat penetrate the fibers more effectively but also prevents the fabric from scorching or becoming shiny under the iron. The tip is you can also add a few drops of scented essential oil to the spray bottle for a pleasant, subtle fragrance.
Step 3: Iron with steam
With your iron set to the appropriate temperature, glide it smoothly over the leather, applying gentle pressure and utilizing the steam function. Generally, linen typically requires a higher temperature setting, between 392°F (200°C) and 445°F (230°C), depending on the thickness of the fabric.
Additionally, be sure to iron in the direction of the fabric’s grain to avoid distorting the fibers. Remember, you need to iron slowly and take your time, and moving the iron at a consistent speed will help achieve a perfectly pressed finish.
Step 4: Iron both sides
For a completely smooth finish, iron both sides of the linen. This is particularly important for tablecloths and napkins, as they have a completely smooth finish on both sides, leading to a neat and presentable look from all angles when viewed.
Next, you flip the fabric over and repeat the same process, making sure that the iron maintains consistent contact with the surface. Don’t forget to re-dampen the fabric as needed to maintain the ideal moisture level.
Step 5: Hang or fold immediately
After you’ve ironed the linen, remember to hang it up or fold it neatly right away to prevent new wrinkles from forming. For garments, use a sturdy hanger and ensure there’s enough space around the item to allow it to breathe.
For table linens and bedding, fold them carefully along their natural creases, smoothing out any wrinkles with your hands as you go. Store them in a cool, dry place to keep them looking crisp and fresh.
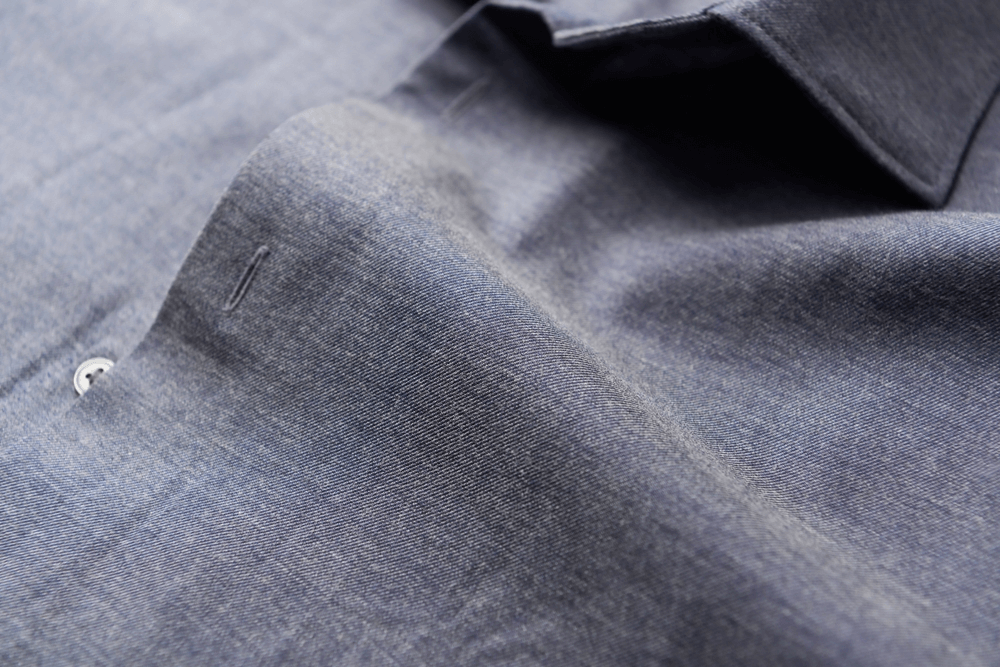
Linen Shirt
When ironing a linen shirt is similar to ironing a traditional collared shirt, and you can follow the above guides. However, there may be some differences in a few steps. Here are some tips to help you achieve the best results:
Firstly, while ironing, start with the collar, and place it on the ironing board with the outer side facing down. Begin ironing from the center of the collar towards the edges, using gentle pressure and steam as needed.
Next, come up with the part of the cuff, unbutton them first, and lay them flat on the ironing board with the inner side facing up. Iron from the center of the cuff towards the edges, then flip and iron the outer side.
Now, move on to the sleeves. Lay one sleeve flat on the ironing board with the outer side facing up. Use your hand to smooth out any wrinkles before ironing. Start at the shoulder and work your way down to the cuff, then repeat for the other sleeve.
Next, iron the front panels, starting from the shoulder down to the hem, using smooth strokes and even pressure. Repeat for the other front panel in the same manner.
Finally, for the back part, begin at the center of the yoke (the piece connecting the shoulders) and work outwards, then proceed down to the hem.
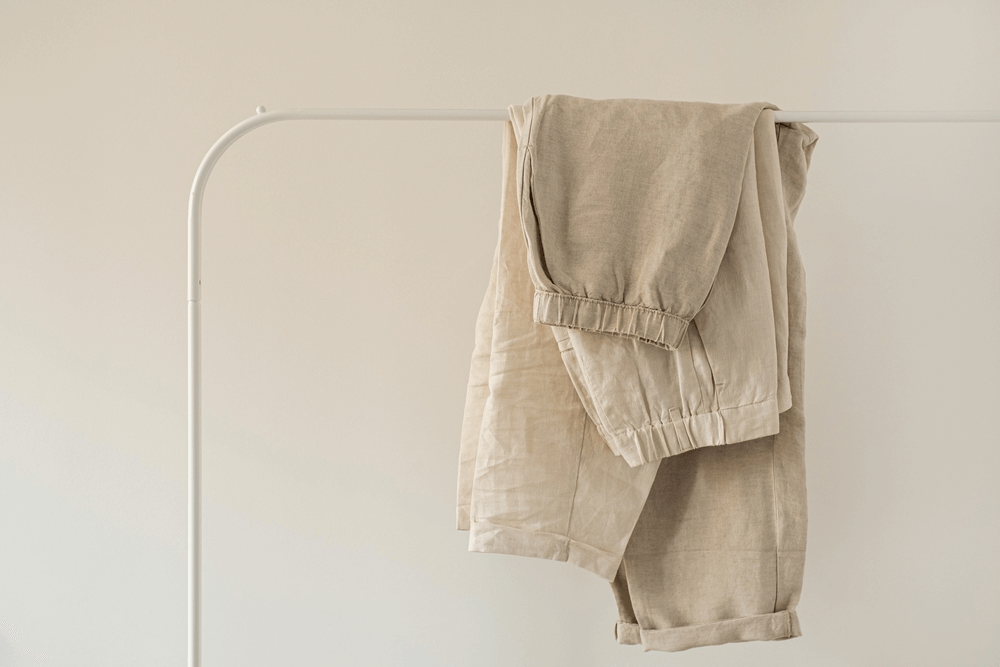
Linen Pants
In terms of linen pants, here is the primary method for removing wrinkles:
While Ironing, start with the waistband. You should lay the pants flat with the waistband facing up and press the iron on the waistband. After that, continue moving from one side to the other.
Additionally, if your pants have pockets, open them and iron the inside first. Then, the outside of the pockets, making sure to smooth out any wrinkles.
Now, we move on to pant legs, lay one pant leg flat, and ensure it is aligned correctly with the seams and the fabric is smooth. You continue beginning with the top of the pant leg, near the waistband and move downward toward the hem. Make sure to press firmly and evenly, moving the iron in long, straight strokes.
Moreover, pay special attention to the creases (if any) on the front and back of the pant leg. If you want to create a sharp crease, fold the pant leg along the desired crease line and press the iron firmly along the fold and we repeat the process for the other pant leg.
After ironing both pant legs, we continue to the seams and hems parts. Remember to check the seams and hems for any remaining wrinkles. Press the iron along the seams and hems as needed to smooth them out.
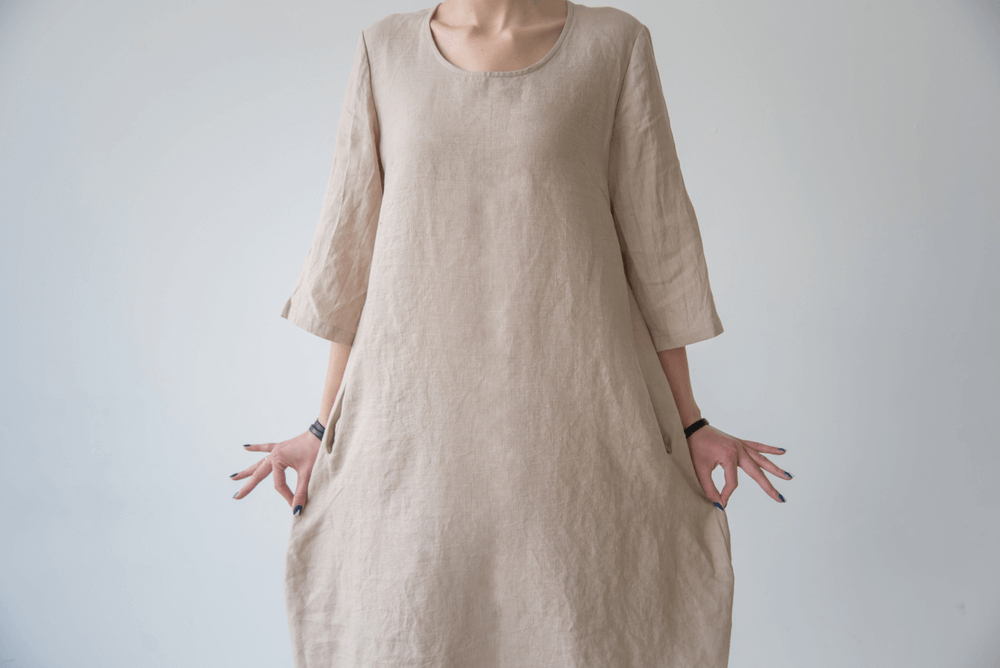
Linen Dress
For linen dresses, some steps are similar to ironing normal clothes, so I will give you the main way to remove wrinkles:
After you prepare all the tools, we start turning the dress inside out before ironing. This step will help to protect any visible design elements or delicate stitching from potential damage during the ironing process.
Next, you can begin with the smallest parts of the dress, like the collar, cuffs, or seams, which will make it easier to manage and prevent creating new wrinkles as you work on larger sections.
It’s important to use a smooth, even motion and apply gentle pressure with the iron. Avoid pressing too hard as this can create more wrinkles or even damage the fabric. Make sure to iron in the direction of the grain, which typically runs parallel to the selvage.
After finishing the above step, we work in the same way, but you should focus on parts such as the front, back, or sides.
Tips for Ironing Linen
- Always iron linen while it’s damp. If the fabric is too dry, use a spray bottle or a damp cloth to moisten it before ironing.
- Turn this fabric item inside out to protect the outer surface and prevent shiny marks.
- Use a pressing cloth (a clean, damp cotton cloth) between the iron and the linen to prevent scorching.
- Iron in straight, smooth strokes, and avoid pressing too hard or using a back-and-forth motion.
- Hang or fold linen items immediately after ironing to prevent new wrinkles from forming.
Conclusion
Ironing linen can be a bit challenging, but with the right technique and some patience, it’s possible to achieve a smooth, wrinkle-free finish. Remember to always iron linen while it’s damp, use the appropriate iron temperature, and follow the step-by-step instructions provided for each type of linen item.
FAQs
- What causes linen to wrinkle easily?
Linen’s natural fibers have a lower elasticity than other fabrics, such as cotton or polyester. This means that when the fibers are bent or folded, they don’t bounce back as easily, resulting in wrinkles.
- Can iron linen when it’s fully dry?
It’s best to iron linen when it’s damp, as moisture helps release wrinkles more easily. If it is dry, use a spray bottle or damp cloth to moisten it before ironing.
- Can I use a steamer on linen?
Yes, you can use a steamer on linen. In fact, steaming can be a gentler alternative to ironing, as it doesn’t apply direct heat and pressure to the fabric. However, be sure to follow the manufacturer’s instructions for using a steamer on it.
Read More: