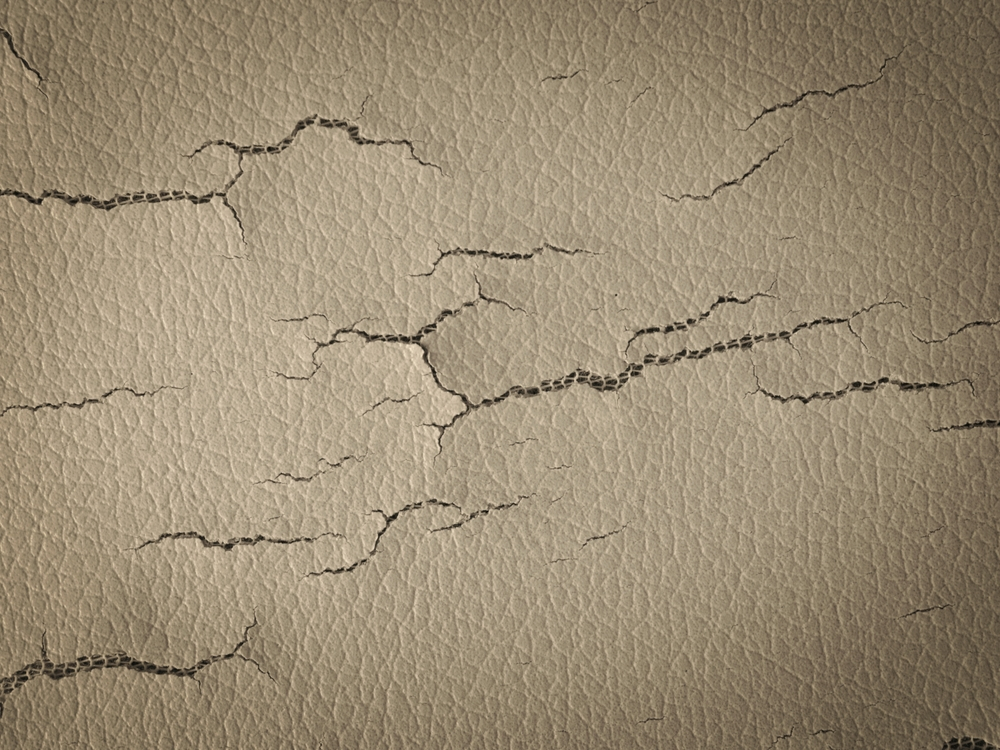
Cracked leather can be uncomfortable and make your items look worn and unappealing. But don’t worry! In this article, we will explore the causes of cracks, the materials and tools you’ll need to fix them, and a step-by-step guide to repairing those cracks.
We’ll also share some tips on how to prevent cracks in the future, ensuring that your items maintain their best appearance for as long as possible. So, let’s get started!
What Causes leather cracking?
Leather is a natural material and highly sensitive to environmental factors and daily wear and tear. The factors such as sunlight, heat, and humidity can all contribute to cracking over time, and direct sunlight can cause it to dry out and lose its natural oils.
Additionally, it is crucial to be mindful of your everyday actions, such as friction, bending, and stretching, which can stress the fibers. Furthermore, cracks may develop if it isn’t properly cared for.
Identifying different types of cracks
Surface cracks
Surface cracks are shallow and affect only the top layer of the leather. Generally, it is easy to manage and repair. In addition, they can often be solved with simple cleaning and conditioning.
Deep cracks
In this situation, it’s important to examine whether the cracks penetrate multiple layers of this natural fabric, as this may require more extensive repairs. In some cases, fully restoring it may not be possible, but you can still improve its appearance.
How to fix cracked leather: Step-by-Step Guides
First, to fix each type of crack, you’ll need:
- Leather cleaner
- Leather conditioner
- Leather repair kit (containing a filler, adhesive, and color-matched dye)
- Soft cloth
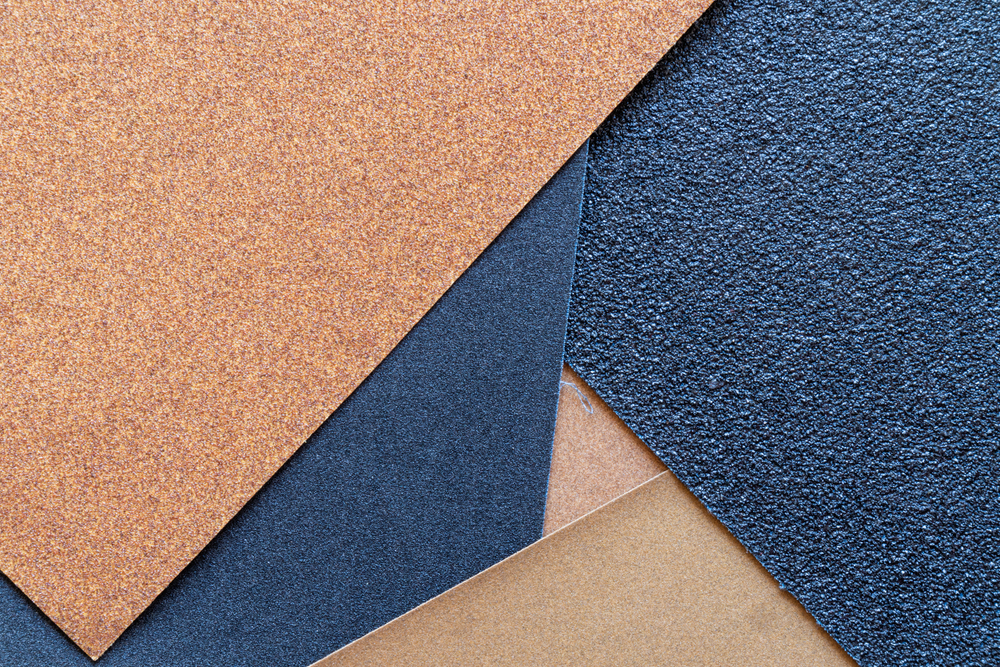
- Fine-grit sandpaper
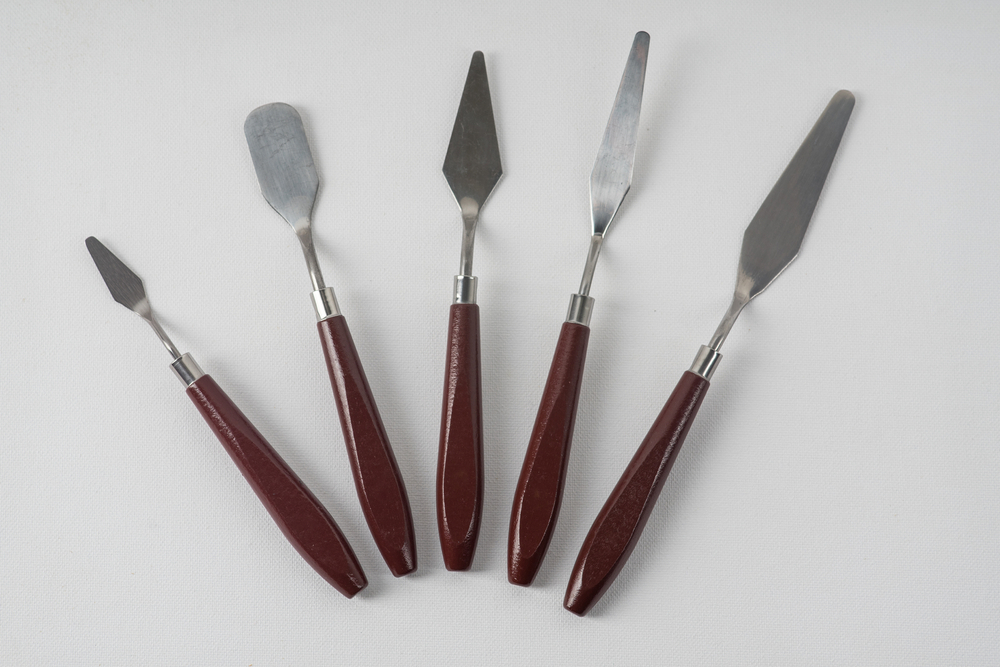
- Palette knife or spatula
Now, here’s a detailed guide on how to achieve the best performance in repair processing:
Fixing surface cracks
Step 1: Clean and condition
Start by removing dirt and grime from the leather. So to do this, you should choose a leather cleaner and conditioner specifically designed for each type (e.g., finished or unfinished leather). These products are specially formulated to remove dirt and grime without damaging this fabric.
When applying the cleaner, use a circular motion to gently work it into the fabric’s surface. Avoid using excessive pressure, which could damage this fabric Next, after cleaning, apply the leather conditioner in a similar manner. The conditioner will help restore lost moisture and soften the fabric, making it more receptive to repair.

Step 2: Apply leather filler
After the leather is clean and conditioned, use a palette knife or spatula to apply a small amount of leather filler to the surface cracks. This is a paste-like substance designed to fill in and bond with the leather, providing a smooth surface for further treatment.
Next, smooth the filler evenly over the crack and let it dry for the recommended time, which is typically around 20-30 minutes, depending on the specific product used. We highly recommend that you always follow the manufacturer’s instructions for the drying time.
Step 3: Sand the repaired area
When the filler has dried, use fine-grit sandpaper (e.g., 400-600 grit) to gently sand the repaired area until it’s smooth. Be careful not to sand the surrounding leather, as this can cause further damage. The goal is to create a seamless surface between the filler and the original fabric.
Step 4: Apply color-matched dye
When selecting the leather dye, consider the specific type and color of your item. You may need to mix multiple colors to achieve an exact match.
During the process, apply the dye in thin, even layers to avoid streaks and uneven color. If necessary, use a hairdryer on low heat between layers to speed up the drying process. This can help you see the final color more quickly and make adjustments as needed. However, it is highly recommended to be patient and allow the dye to dry naturally to protect the material’s surface.
Allow the dye to dry completely, which usually takes 1-2 hours, but always follow the manufacturer’s instructions. After the dye is dry, apply a leather conditioner to the repaired area and the rest of the item to protect and nourish this fabric.
Repairing deep cracks
Step 1: Clean and condition
Choose an appropriate leather cleaner and conditioner that is safe for each type (e.g., finished or unfinished leather). Next, apply the cleaner with a soft cloth, gently working it into the leather in a circular motion to remove dirt and grime.
After cleaning, apply the leather conditioner, which will help to restore lost moisture and make this natural material more receptive to repair.
Step 2: Apply leather adhesive
Select a leather adhesive designed specifically for repairing items. After that, carefully apply a thin layer of adhesive to the edges of the deep crack using a small brush or toothpick.
Next, continue to press the leather together to close the gap, ensuring the edges align properly. Additionally, holding this natural fabric in place is essential for a successful repair. You can either do this manually or use clamps, if necessary, to maintain the correct positioning while the adhesive dries. Moreover, it’s crucial to follow the manufacturer’s recommended drying time for the adhesive.
Step 3: Fill the gap with a leather Filler
After the above process, continue to fill the remaining gap with leather filler also continuously smoothing it evenly with a palette knife or spatula. When you do this process, remember to choose a leather filler that matches your material type.
Additionally, should use a palette knife or spatula to apply the filler. Remember to work in small areas to maintain control and ensure even coverage. Moreover, ensure smooth out between the repaired area and the surrounding leather. Finally, let the filler dry completely, adhering to the manufacturer’s recommended drying time.
After the filler is dry, you should use fine-grit sandpaper (e.g., 400-600 grit) to gently sand the repaired area until it’s smooth.
Step 4: Apply color-matched dye
In this step, selecting a leather dye that matches the color of your item is crucial. You may need to mix multiple colors to achieve an exact match.
Next, apply the dye to the repaired area using a soft cloth or sponge, making sure that the color blends seamlessly into the surrounding leather. If necessary, apply multiple layers of dye. In the applying process, remember to allow each layer to dry before applying the next one.
Finally, allow the dye to dry completely before applying a leather conditioner to protect and nourish your item. By carefully matching the dye color and applying it in thin, even layers, you’ll achieve a professional-looking repair that blends well with the rest of this natural fabric.
Read More: How to Get Wrinkles Out of Leather: Simple Steps to Success
Preventing future cracks
To keep your items in top shape and prevent future cracking, follow these tips:
- Regular maintenance: Clean and condition your leather items regularly to maintain their natural oils and moisture levels.
- Keep away from heat sources: Avoid placing items near radiators, heaters, or other heat sources, which can cause this fabric to dry out and crack.
- Proper storage: Store your items in a cool, dry place away from direct sunlight and heat sources to avoid causing the fabric to dry out and crack. If possible, use a breathable cover or cloth to protect them from dust and debris.
- Additionally, avoid stretching items because this can put stress on the fibers and lead to cracks.
Conclusion
Learning how to fix cracked leather is an essential skill for maintaining the beauty and longevity of your items. By understanding the causes of cracking and following the steps outlined in this guide, you can restore your items and keep them looking their best for years to come.
FAQs
- Can all types of leather cracks be repaired?
While most cracked leather can be repaired to some extent, some damage may be too severe to fully restore. In such cases, you can still improve the appearance and prolong the life of the item.
- How often should I clean and condition my leather items?
The frequency of cleaning and conditioning will depend on how often you use your items and the environmental conditions they’re exposed to. Generally, it is highly recommended that you clean and condition your items every 3-6 months to avoid many problem such as mold, cracking and dry out,…
- What should I do if the repaired area doesn’t match the surrounding leather color?
If the color still doesn’t match, you can try applying additional layers of dye, and blending the color into the surrounding area until the desired shade is achieved.